How To Nail the Perfect Self-Tan on Your Hands (Without the Tell-Tale Lines)
Ask any glow lover what the hardest part of self-tanning is, and the answer is unanimous: the hands. Too light and they look mismatched to your body, too dark and you’re giving Oompa Loompa vibes. But with the right technique, your hands can look seamlessly bronzed and natural.
Here’s how:
1. Prep Is Everything
Exfoliate your hands (especially knuckles and around nails) before you tan. This removes dry patches that would otherwise soak up extra colour.
💡 Pro tip: Push back your cuticles and moisturise nails, knuckles, and between fingers so tan doesn’t cling in those creases.
2. Tan Your Body First, Hands Last
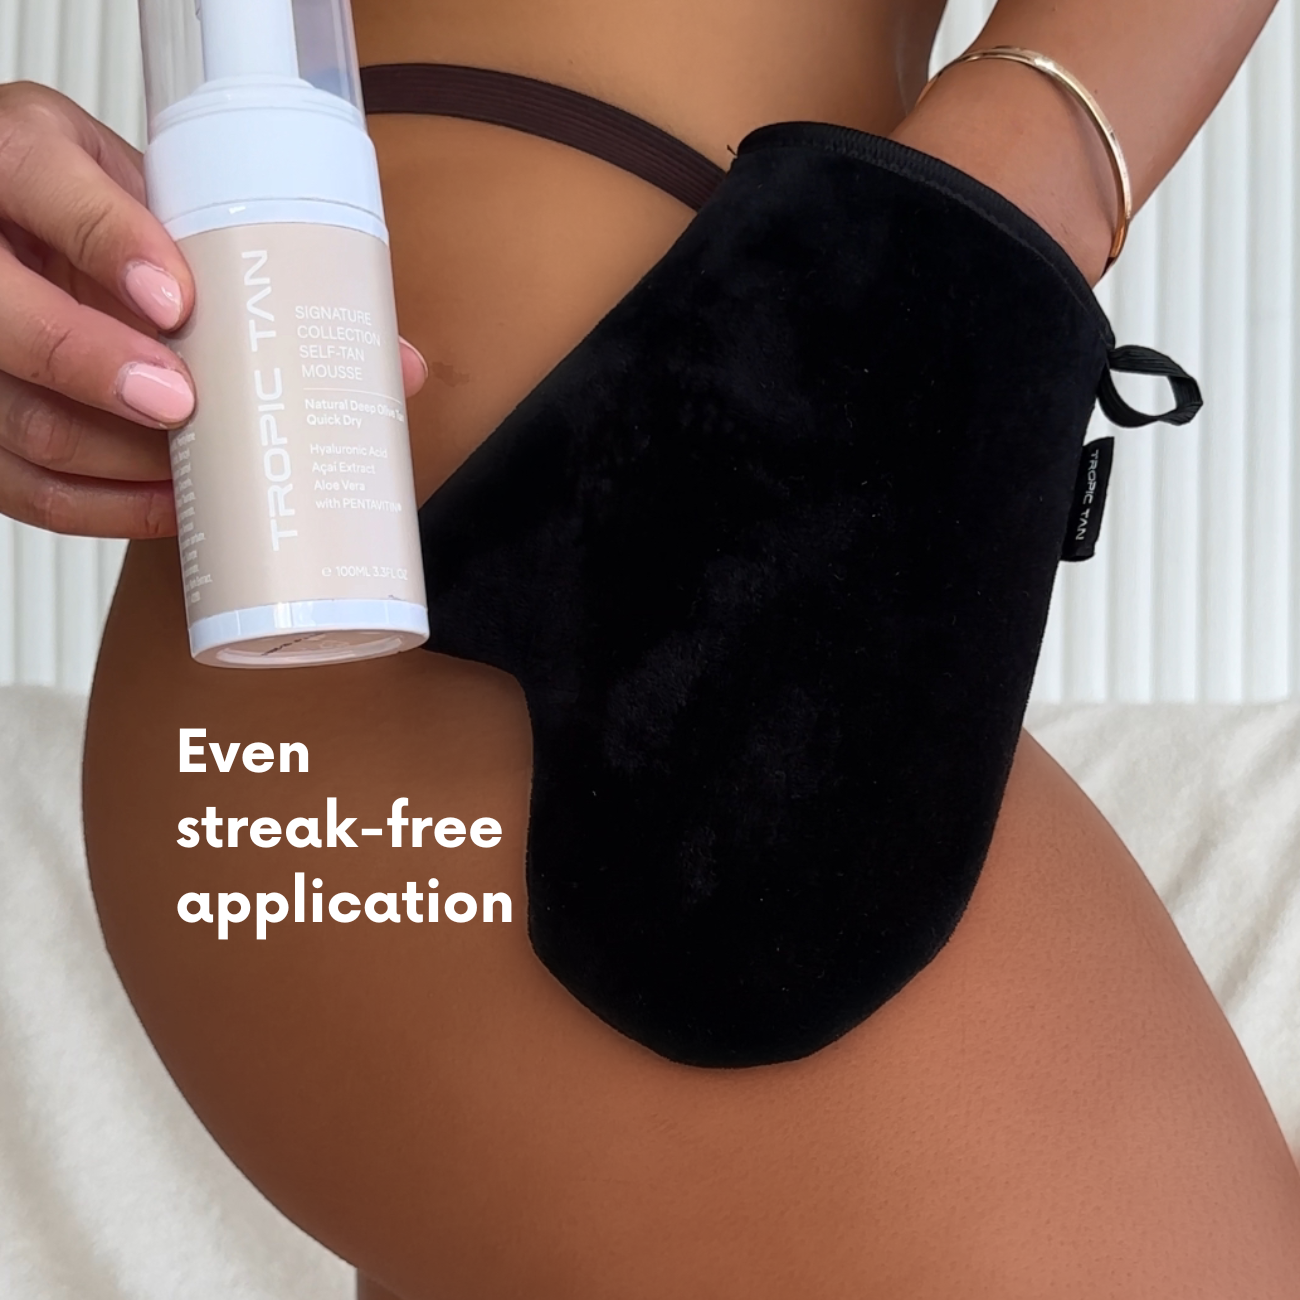
Your hands should be the very final step. After applying tan to your arms, use whatever product is left on your mitt to sweep lightly over the tops of your hands. No extra pumps needed.
3. The “Claw” Trick
When tanning hands, curl your fingers into a gentle claw shape. This stretches out the skin over your knuckles so colour distributes evenly, instead of building up in creases.
4. Blend, Don’t Slather
Think of tanning your hands like applying bronzer, not foundation. Use the mitt to feather the colour over the tops of your hands and wrists, then take a clean makeup brush or damp beauty sponge to blend around nails, between fingers, and down into the wrist for a seamless fade.
5. Quick Rinse Hack
After 1–2 hours of developing, gently rinse just your palms with a little soap and water. This stops colour from over-developing in the creases of your hands but keeps the tops bronzed and natural.
6. Maintain With Moisture
Dry hands fade faster. Keep them hydrated daily with a lightweight, non-greasy lotion to extend the life of your tan and prevent patchiness.
✨ The golden rule: Less product, more blending. Hands aren’t meant to be as dark as your body—they should look softly sun-kissed, not “dipped.”